10 RV Kitchen Ideas for Tiny Travel Cooking Spaces
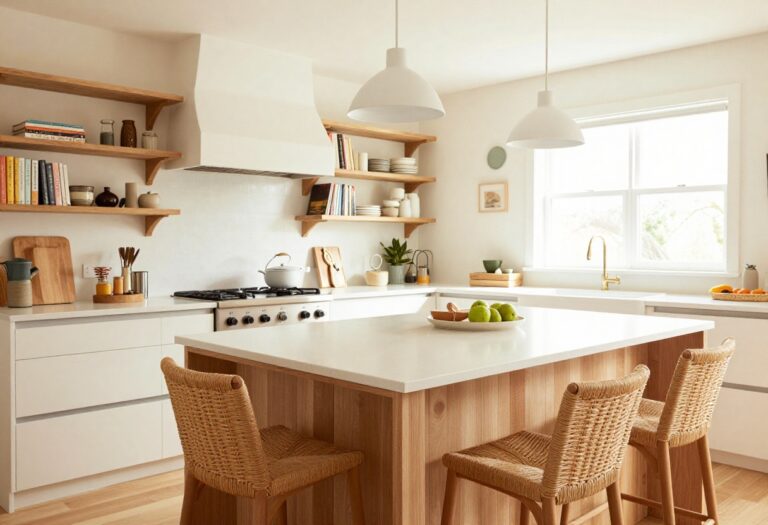
Cooking in an RV kitchen is a bit like playing Tetris with pots and pans. Every inch counts, and you quickly learn that a cluttered counter can ruin a meal before it starts.
But a small space doesn't have to feel cramped or boring. With a few thoughtful touches, your RV kitchen can become a cozy, layered spot that makes you look forward to dinner.
These ten ideas focus on making the most of your space while keeping things stylish and practical. From clever storage to warm textures, each tip is designed to help you create a kitchen that feels like home, no matter where you park.
1. Magnetic Spice Rack on the Range Hood
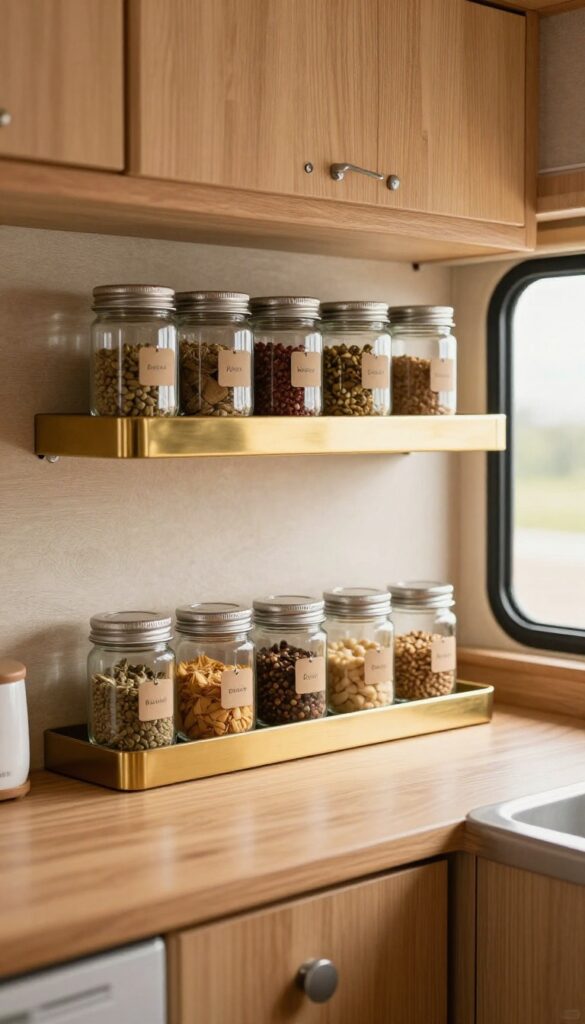
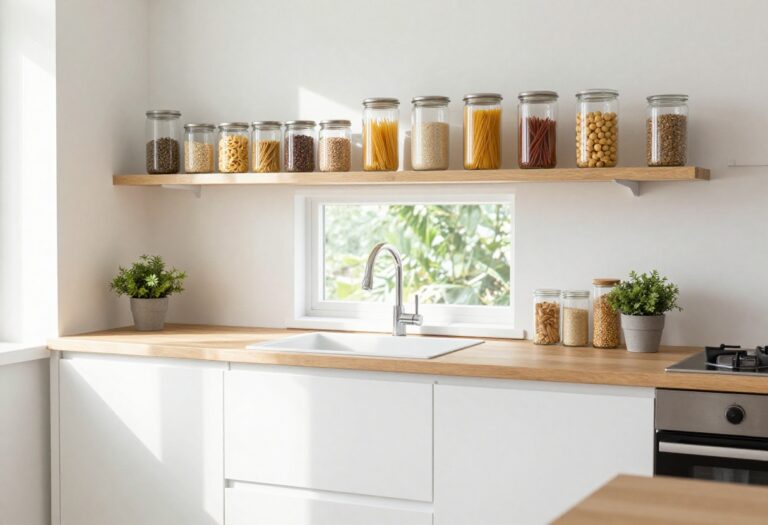
Cooking in a tiny kitchen often means sacrificing counter space for prep. But what if you could stash your spices right where you need them—without taking up any surface area? Mounting a magnetic strip on the side of your range hood or a metal wall keeps your most-used seasonings visible and within arm's reach.
It's a clever, space-saving hack that also adds a touch of industrial charm to your RV kitchen.
This idea turns an often-overlooked vertical surface into functional decor. By using uniform jars, you create a cohesive look that feels intentional rather than cluttered. Grouping spices by cuisine (Mexican, Italian, Asian) makes grabbing the right blend effortless, and the magnetic strip itself becomes a subtle design feature—especially if you choose a brushed brass or matte black finish to match your hardware.
Best Materials
- Go for lightweight, airtight glass jars with metal lids (the lids need to be magnetic). Stainless steel or tin-plated lids work best. Avoid plastic if you want a more polished look.
- The magnetic strip should be strong enough to hold the jars securely—look for neodymium magnets or a heavy-duty adhesive strip rated for at least 5 pounds.
Small-space Fix
If your range hood isn't magnetic, attach a metal sheet or a magnetic board to the side with strong adhesive. You can also mount the strip on a nearby metal wall or even inside a cabinet door for a hidden spice stash. Just make sure the strip is level and the jars won't rattle when you drive.
Styling Tip
Keep the jars uniform in size and shape for a clean, minimalist look. Label them with a simple chalk or vinyl label for easy identification. To add warmth, choose jars with a slight amber tint or pair the setup with a small wooden shelf above for extra storage.
2. Tension Rod for Paper Towels and Cleaning Supplies
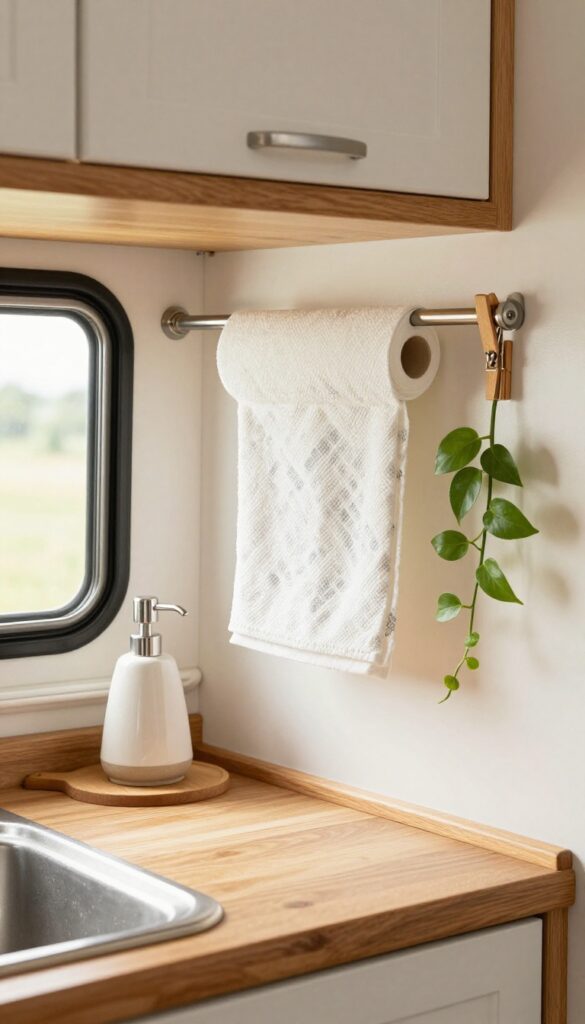
In a tiny RV kitchen, every inch of vertical space is precious. A tension rod tucked under a cabinet or stretched across the sink area gives you a spot to hang paper towels, dish towels, or even lightweight spray bottles—without drilling a single hole. It’s the kind of low-effort, high-reward hack that makes your kitchen feel instantly more organized and a little cozier, too.
A tension rod does double duty as both a storage solution and a subtle design element. Choose a brushed nickel or matte black rod to match your fixtures, or go with a warm brass tone for a touch of vintage charm. The key is picking one with a non-slip grip—essential for keeping everything in place when you’re on the road.
Mount it under an upper cabinet near the stove or over the sink, and you’ll free up counter space while keeping daily essentials within easy reach.
Best Materials
Look for a tension rod made from stainless steel or aluminum—they’re lightweight, rust-resistant, and easy to wipe clean. Avoid plastic rods that can warp or lose tension over time. A rubberized end cap adds extra grip, so the rod stays put even on bumpy roads.
Styling Tip
Layer your rod with items that add visual warmth. Hang a patterned dish towel over it, slide on a wooden paper towel holder, or clip a small plant to the rod for a touch of green. Keep the look intentional—too many items can feel cluttered in a small space.
Small-space Fix
If your RV kitchen lacks cabinet overhang, install the rod vertically between the counter and an upper shelf to create a slim caddy for cleaning spray bottles or scrub brushes. It’s an unexpected use of the rod that maximizes every inch.
3. Foldable Countertop Extension
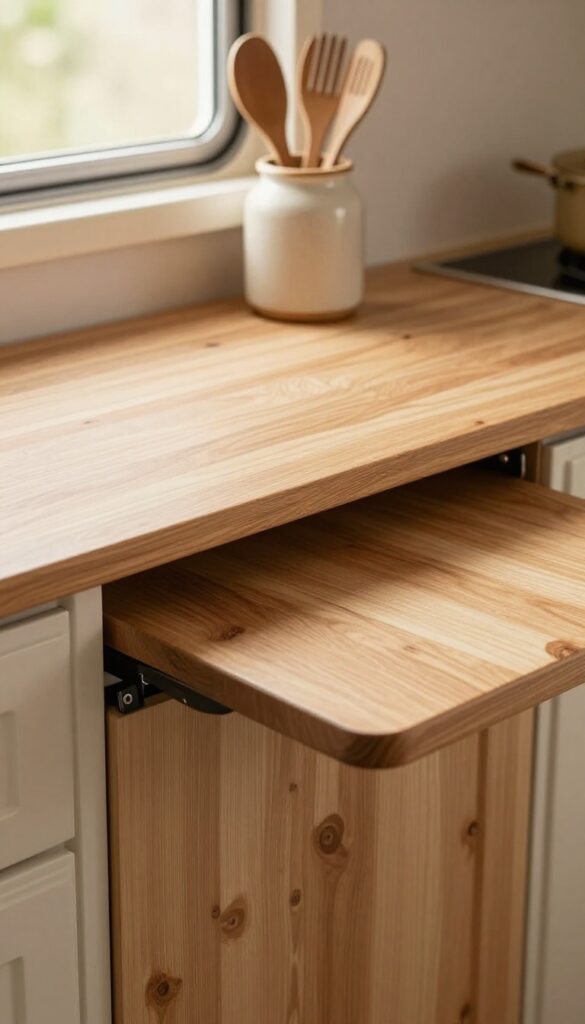
When every inch of counter space counts, a foldable extension is a game-changer. It gives you a generous prep area when you need it and disappears when you don't, keeping your RV kitchen feeling open and uncluttered. The best part?
It adds warmth and character with the right material choice.
Mount a butcher block or bamboo board on a sturdy hinge attached to a cabinet or wall near your stove. When flipped up, it creates a seamless extra workspace for chopping, mixing, or setting down hot pans. When folded down, it hugs the wall or cabinet face, taking up zero floor space.
This simple addition makes cooking in a tiny kitchen feel far less cramped.
Best Materials
Butcher block brings a warm, natural look that pairs well with almost any cabinet finish. Bamboo is lighter, more water-resistant, and equally durable. Both add a cozy, layered texture that softens the industrial feel of many RV kitchens.
Installation Tip
Use a fold-down bracket with a locking mechanism so the extension stays securely in place while you work. Position it at the same height as your existing countertop for a seamless flow. If you're renting, consider a tension-mounted version that doesn't require drilling.
Styling Detail
Keep a small cutting board or a pretty jar of utensils on the extension when it's folded down—it adds a lived-in, styled look without cluttering the space. Choose a wood tone that complements your cabinets or contrasts gently for extra visual interest.
4. Under-Cabinet Hanging Wine Glass Rack
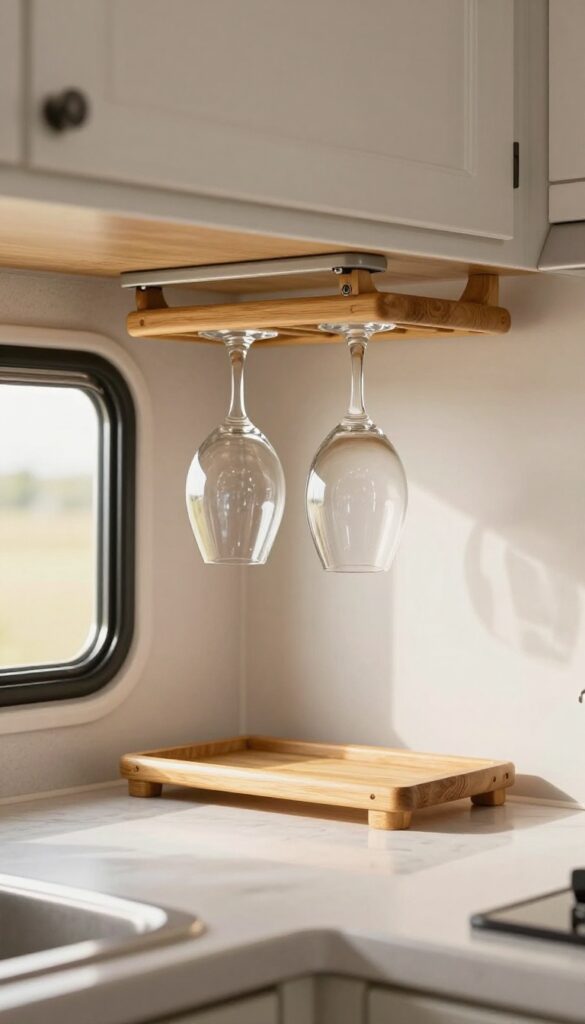
In a tiny RV kitchen, every inch of storage counts. Stemware can be especially tricky—tall and fragile, they take up valuable cabinet real estate and always seem to be in the way. That's where an under-cabinet hanging wine glass rack comes in.
It's a simple addition that instantly frees up shelf space while adding a touch of elegance to your cooking area. Plus, having your glasses visible and within easy reach makes even a quick weeknight dinner feel a little more special.
Mounting a small wine glass rack under an upper cabinet is one of those upgrades that feels both practical and luxurious. It keeps your stemware safe, upside down to prevent dust, and clears out room for plates or pantry items below. For a cozy, layered look, choose a rack with a warm wood or matte black finish that complements your existing hardware.
Stick to a two- or four-glass rack to avoid overcrowding—remember, this is about making your space feel open, not cluttered. The gentle clink of glasses as you drive is just a bonus reminder of the good times ahead.
Best Materials For A Cozy Vibe
- For that warm, layered feel, go with a bamboo or acacia wood rack. The natural grain adds texture against painted cabinets or white walls. If your RV leans more modern, a black metal rack with a slim profile keeps things sleek without feeling cold.
- Avoid plastic—it can look cheap and doesn't hold up well in changing temperatures.
Installation Tip
- Measure twice, mount once. Make sure the rack is centered over a clear countertop area—not above the stove or sink, where heat and steam could damage the glasses. Use the included screws or heavy-duty adhesive strips rated for the weight of your glasses.
- Test with an empty rack first to be sure it's secure before loading it up.
Styling The Space Around It
To make the rack feel intentional, keep the surrounding area tidy. Place a small plant or a pretty salt cellar on the counter directly below to draw the eye down. If you have open shelving nearby, repeat the wood or metal finish on a few accessories—like a wooden spoon holder or a metal canister—to tie the look together.
5. Stackable Nesting Cookware Set
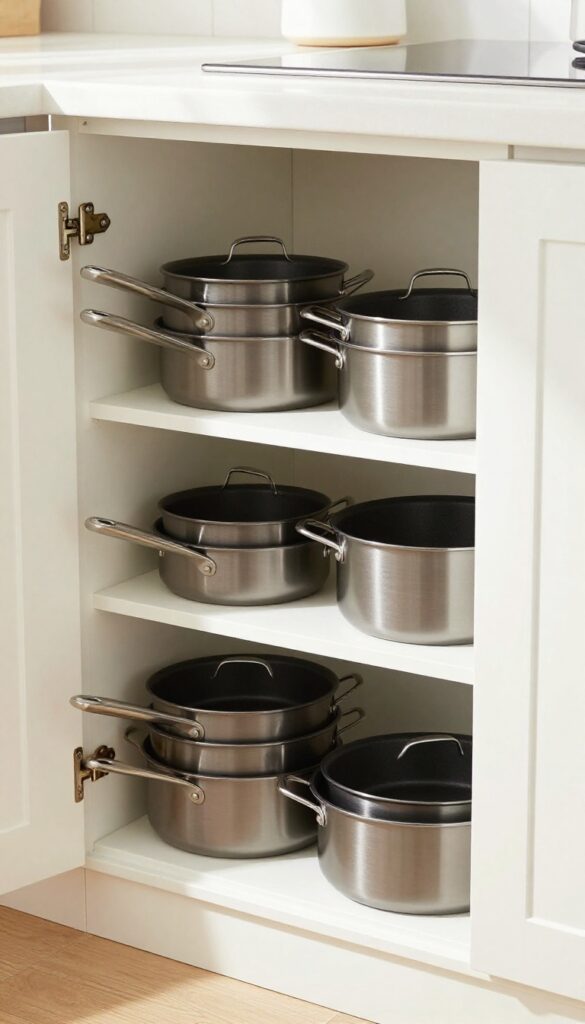
There's something deeply satisfying about opening a cabinet and seeing everything fit like a puzzle. A nesting cookware set brings that same calm to your RV kitchen, where every inch counts. Instead of wrestling with mismatched pots and lids that never stack right, you get a tidy tower of cookware that slides out effortlessly.
The best part? It looks intentional and polished, like you planned the whole space around it.
A nesting cookware set is the ultimate space-saving hack for tiny kitchens. These sets are designed so each piece nests inside the next, taking up the same footprint as a single pot. Look for sets with removable handles—they store flat and make stacking even easier.
Non-stick surfaces are a must for quick cleanup, and lightweight materials like hard-anodized aluminum keep the set manageable. The visual payoff is a clean, uncluttered cabinet that feels twice as spacious. Plus, the coordinated look adds a subtle layer of sophistication to your cooking space.
Best Materials
- Hard-anodized aluminum is a top choice for nesting sets because it's lightweight, durable, and heats evenly. Stainless steel with an aluminum core is another solid option, though slightly heavier. Avoid cast iron for nesting sets—it's too heavy and bulky.
- Non-stick coatings are almost essential for RV life, making post-dinner cleanup a breeze. Look for sets that are induction-compatible if your RV cooktop supports it.
Storage Tip
- Maximize your cabinet space by storing lids separately in a vertical lid organizer or a slim wire rack. This prevents the tower from becoming unstable and makes grabbing the right lid easy. If your set includes a kettle or small saucepan, tuck it inside the largest pot to keep the stack compact.
- For a cozy touch, line the cabinet shelf with a grippy mat to keep everything from sliding during travel.
Finishing Touch
- Display a single piece—like the smallest saucepan—on your stovetop when not in use. It adds a warm, lived-in feel and makes the kitchen feel more like home. Choose a set with a matte exterior or a soft color like sage green or cream to tie into your overall decor.
- This small styling choice turns a practical tool into a design element.
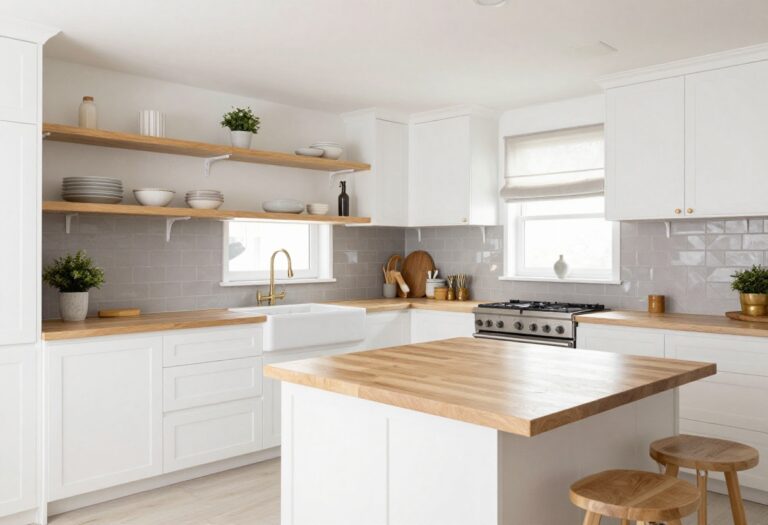
6. Peel-and-Stick Backsplash for Color and Texture
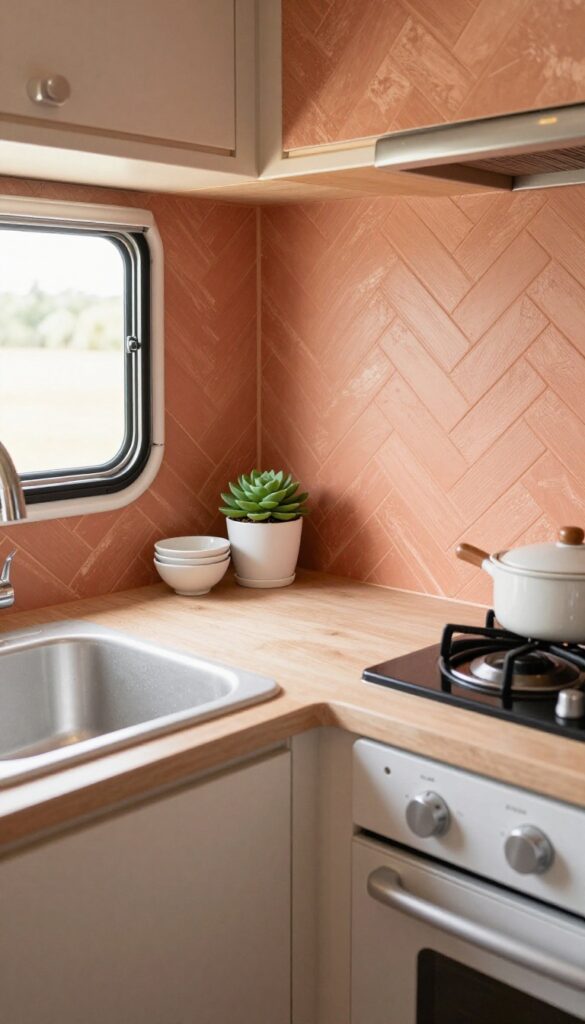
A backsplash might feel like a big commitment, especially in a rental or a tiny kitchen you don't plan to stay in forever. But peel-and-stick tiles change the game entirely. They give you the look of real tile without the mess, the cost, or the permanence.
Plus, they're surprisingly durable and easy to wipe down after cooking.
The wall behind your stove or sink takes a lot of abuse—splatters, steam, heat. A peel-and-stick backsplash protects that surface while adding a serious dose of personality. Because RV kitchens are so compact, even a small area of pattern or color makes a big visual impact.
You can go classic with white subway tile for a clean, airy feel, or choose a warm geometric pattern to bring in texture and depth. The best part? If you change your mind or need to move out, it peels right off without damaging the wall.
Best Colors And Patterns
- For a cozy, layered look, stick with warm neutrals like cream, beige, or soft terracotta. These tones make the space feel inviting without overwhelming it. If you want a subtle pattern, try a herringbone or hexagon design in a matte finish.
- Glossy tiles can feel a bit cold and reflect too much light in a tiny space, so matte is usually the better choice for warmth.
Installation Tips
- Measure your wall area carefully and order a little extra—around 10% more than you think you need. Clean the wall thoroughly with rubbing alcohol before applying, and use a utility knife and a straight edge to cut tiles neatly around outlets and corners. Press each tile firmly and use a roller or a clean cloth to ensure good adhesion.
- Let it sit for 24 hours before cooking or cleaning to let the adhesive set.
Finishing Touch
- To make the backsplash feel intentional, add a slim wooden shelf above it. Place a small plant, a jar of utensils, or a salt cellar there. The wood warms up the tile and ties the whole look together.
- Choose a shelf that matches your countertop or cabinet hardware for a cohesive feel.
7. Over-the-Sink Cutting Board with Colander
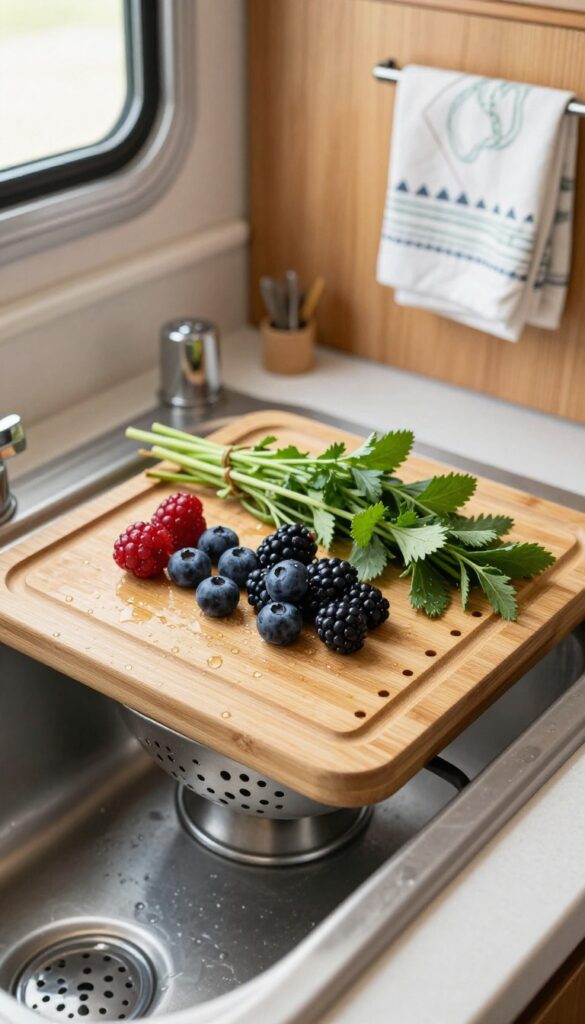
Counter space is precious in an RV kitchen, but you can reclaim it with a clever multitasker. An over-the-sink cutting board that doubles as a colander gives you a sturdy prep surface right where you need it, and rinsing veggies becomes a one-step process. Look for one with a non-slip edge to keep it stable while you chop, and choose a size that fits your sink perfectly so it doesn't slide around.
This simple swap adds function without taking up any permanent counter room. When you're done prepping, just lift the board and let the colander section drain directly into the sink. It's especially handy for washing berries, herbs, or small produce that might otherwise roll away.
The design feels intentional and polished, not like a temporary fix.
Best Materials And Fit
- Bamboo is a top choice—it's lightweight, naturally antimicrobial, and warm-toned, which adds a cozy layer to a compact kitchen. Plastic versions are easier to clean and often come with built-in colander holes, but they can feel less stylish. Measure your sink width before buying; most over-the-sink boards fit standard single or double basins.
- A snug fit prevents wobbling and makes chopping feel secure.
Styling And Storage Tip
When not in use, lean the cutting board against the backsplash or store it vertically in a narrow gap between the sink and counter. To keep the look cohesive, pair it with a matching bamboo utensil holder or a small dish rack. If your RV has open shelving, the board can double as a decorative element—just prop it up with a pretty dish towel underneath for a layered, lived-in feel.
Small-space Fix
For extra-tiny sinks, look for an expandable over-the-sink board that adjusts to different widths. Some models include a removable colander insert, so you can use the board as a flat surface when you don't need the strainer. This flexibility means you're not stuck with a single-purpose tool, and it frees up drawer space by eliminating the need for a separate colander.
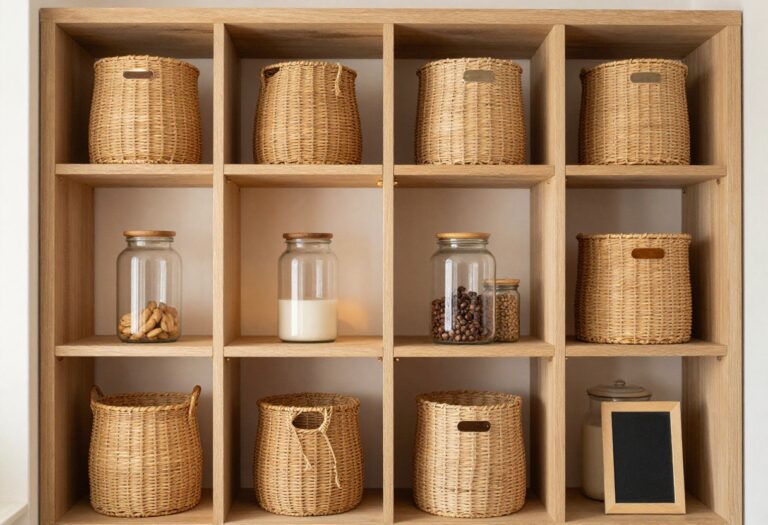
8. Hanging Mesh Baskets for Produce Storage
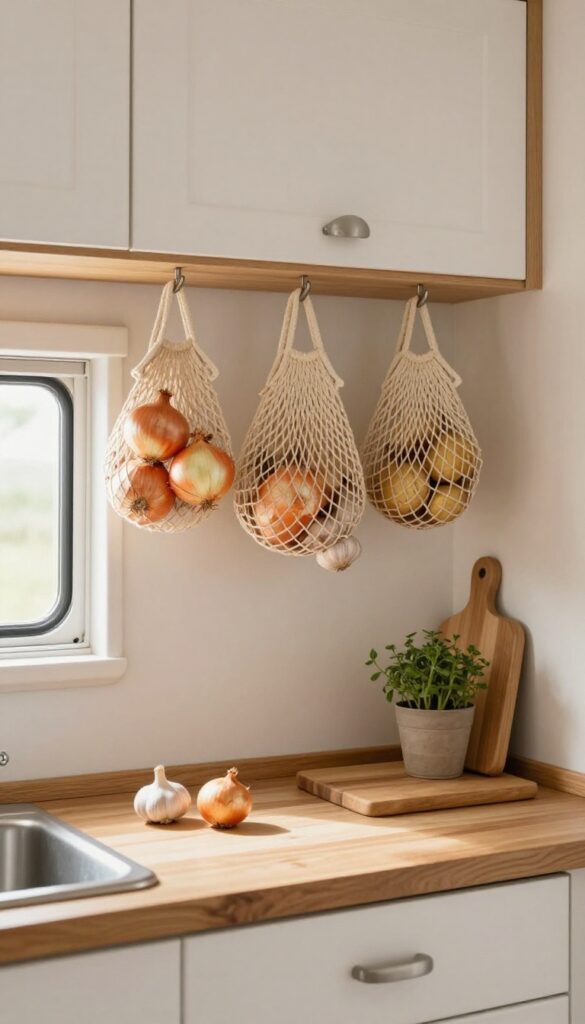
In a tiny RV kitchen, every inch of counter space is precious. Storing bulky produce like onions, garlic, and potatoes can feel like a constant battle. Hanging mesh baskets solve that problem by taking advantage of vertical space, keeping your ingredients fresh and within easy reach without cluttering your limited counters.
These baskets do double duty: they free up counter space and add a cozy, layered look to your kitchen. The mesh allows air to circulate, which helps produce last longer—a huge win when you're on the road and can't restock as often. Plus, they're easy to install with simple hooks or adhesive brackets, so you won't damage your RV's walls.
Choose natural jute for a warm, boho vibe or black metal for a more modern, industrial feel. Either way, they'll become one of your most-used kitchen tools.
Best Materials For Durability And Style
For a practical yet stylish look, go with natural jute or cotton rope baskets—they add texture and warmth. If you prefer something more durable and easy to clean, black or white powder-coated metal baskets are a great choice. Avoid plastic mesh, which can look cheap and may not hold up well in a moving RV.
Where To Hang Them
- The best spot is under an upper cabinet near your prep area, so you can grab onions or garlic while cooking. You can also hang them on a wall near the stove or on the side of a cabinet. Just make sure they're not blocking any vents or windows.
- Use adhesive hooks rated for the weight of your produce to avoid damaging the RV's thin walls.
Styling Tip: Mix And Match Sizes
- For a layered, curated look, hang baskets in two or three different sizes. Group them together for a cohesive display, or space them out along a wall. Fill one with onions, another with garlic, and a third with small potatoes or shallots.
- The varying heights and contents create visual interest while keeping everything organized.
9. Command Hook Utensil Organizer

Tiny RV kitchens mean every inch of storage counts. Command hooks on cabinet doors or walls turn empty vertical space into a handy utensil holder. Measuring spoons, spatulas, and tongs stay within arm’s reach without cluttering drawers.
The best part? No drilling required, so your rental or RV stays damage-free.
Arranging hooks in a neat row creates a tidy, almost decorative look. Choose hooks that match your cabinet hardware—brushed nickel or matte black for a modern touch, or white to blend in. This system works especially well on the inside of upper cabinet doors, keeping utensils hidden when closed but instantly accessible when cooking.
For wall-mounted hooks, place them near the stove or prep area for quick grabs. The layered effect of hanging utensils adds a cozy, lived-in feel to the compact space.
Best Placement
Inside cabinet doors near the stove is prime real estate. You can also use the wall beside the sink or a narrow strip of backsplash. Just make sure hooks are within easy reach and won't bump into other items when the door closes.
Styling Tip
Group utensils by type—spatulas together, measuring cups together—for a neat grid. Add a small hook for pot holders or a dish towel to complete the cozy, layered look. Stick to a cohesive color palette for the utensils (wood handles, black silicone, or stainless steel) to keep things visually calm.
Small-space Fix
If drawer space is tight, this trick frees up an entire drawer for other essentials. Use clear Command hooks so they disappear against white cabinets, or choose decorative hooks that double as wall art. For a budget-friendly swap, repurpose adhesive hooks you already have at home.
10. Cozy Rug and Cushion for the Dinette
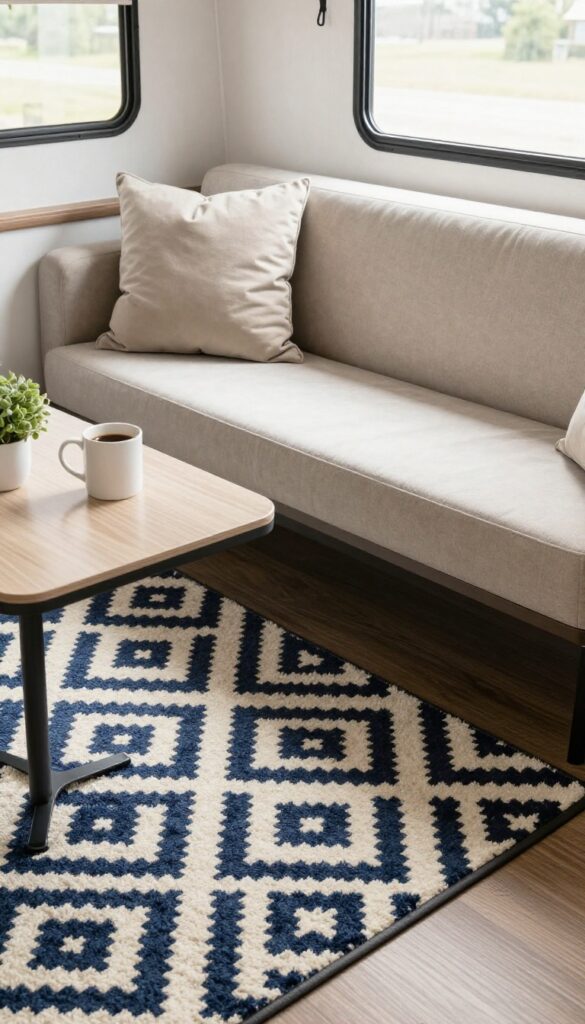
A small RV kitchen can feel cold and utilitarian, especially the dinette area where you eat and relax. Adding a washable rug and a plush cushion transforms that hard bench into a cozy nook you actually want to spend time in. The trick is choosing pieces that are practical for a tiny space—low-pile rugs that won't trip you up and cushions that can handle spills.
Layering a soft rug under the dinette table grounds the space and adds warmth underfoot. Pair it with a custom-fit cushion on the bench to make meal times and coffee breaks more comfortable. This combination softens the industrial feel of an RV kitchen and makes the whole area feel like a real home, not just a camper.
Best Materials
Look for indoor-outdoor rugs made from polypropylene or recycled PET—they resist moisture, stains, and fading. For the cushion, choose a performance fabric like Sunbrella or a polyester blend that wipes clean easily. Avoid high-pile or shag rugs, as they trap crumbs and are harder to clean in tight quarters.
Pattern And Color Tips
A rug with a busy geometric or floral pattern is your best friend—it hides dirt and spills between washes. Stick to a color palette that complements your RV's existing decor, like navy and cream or terracotta and beige. For the cushion, a solid neutral or a subtle stripe keeps the look cohesive without overwhelming the small space.
Small-space Fix
- Measure your dinette area before buying. A rug that's too large will bunch up under the table legs, while one too small looks skimpy. Aim for a rug that extends just past the bench edges, about 3×5 feet for most RV dinettes.
- For the cushion, consider a non-slip backing or ties to keep it in place when you slide in and out.
FAQ
What is the best way to maximize counter space in an RV kitchen?
Use foldable extensions, over-the-sink cutting boards, and magnetic strips to add prep areas without permanent fixtures. Keep only essential appliances on the counter.
Can I install a backsplash in an RV without damaging the walls?
Yes, peel-and-stick backsplash tiles are renter-friendly and easy to remove. They stick to smooth surfaces and can be cut to fit small spaces.
How do I store pots and pans in a tiny RV kitchen?
Use nesting cookware sets that stack inside each other. You can also hang pots from a ceiling rack or use vertical dividers in cabinets.
What type of rug is best for an RV kitchen?
Choose a low-pile, washable rug with a non-slip backing. Avoid shag or high-pile rugs that can trap dirt and be a tripping hazard.
How can I add more storage without drilling holes?
Use tension rods, Command hooks, and magnetic strips. These are removable and won't damage walls or cabinets.
Conclusion
Your RV kitchen doesn't have to feel like a compromise. With a few smart additions and a bit of creativity, you can turn it into a space that's both functional and inviting. The key is to choose items that serve double duty and add warmth without clutter.
Start with one or two ideas that speak to your cooking style, and build from there. Before you know it, you'll be whipping up meals in a kitchen that feels just as cozy as the one you left behind.